Best SSH Remote IoT Device Raspberry Pi Free: Your Ultimate Guide To Secure Connectivity
Ever wondered how you can remotely control IoT devices using Raspberry Pi for free? Well, buckle up, because we're about to deep dive into the world of SSH remote access, and trust me, it’s a game-changer! If you're a tech enthusiast or just someone looking to explore the possibilities of remote device management, this guide is tailor-made for you. We’ll break down everything from setting up your Raspberry Pi to optimizing it for secure SSH connections without breaking the bank.
SSH, or Secure Shell, is like the Swiss Army knife of remote access tools, and when paired with a Raspberry Pi, it becomes an unstoppable force in the IoT realm. Whether you're a hobbyist tinkering with home automation or a pro managing industrial-grade devices, this setup gives you the power to control your IoT ecosystem from anywhere in the world. And the best part? It's completely free!
Now, before we jump into the nitty-gritty, let me assure you that this isn’t just another tech tutorial. We’ll cover everything from the basics to advanced tips, ensuring you’re well-equipped to set up and maintain a secure SSH connection for your IoT devices. So, grab your Raspberry Pi, and let’s get started!
Read also:Winklevoss Married The Love Story Behind The Crypto Twins
What is SSH and Why Use It for IoT Devices?
Let’s start with the basics. SSH, or Secure Shell, is essentially a protocol that allows you to remotely access and control devices over a network securely. It encrypts all data exchanged between your computer and the target device, making it one of the safest methods for remote access. When it comes to IoT devices, security is paramount, and SSH provides that extra layer of protection.
For Raspberry Pi enthusiasts, SSH is a must-have tool. It lets you manage your Pi from any location, as long as you have an internet connection. Whether you're troubleshooting a sensor or updating software on a remote server, SSH makes the process seamless and efficient. Plus, it’s free, which is always a win-win!
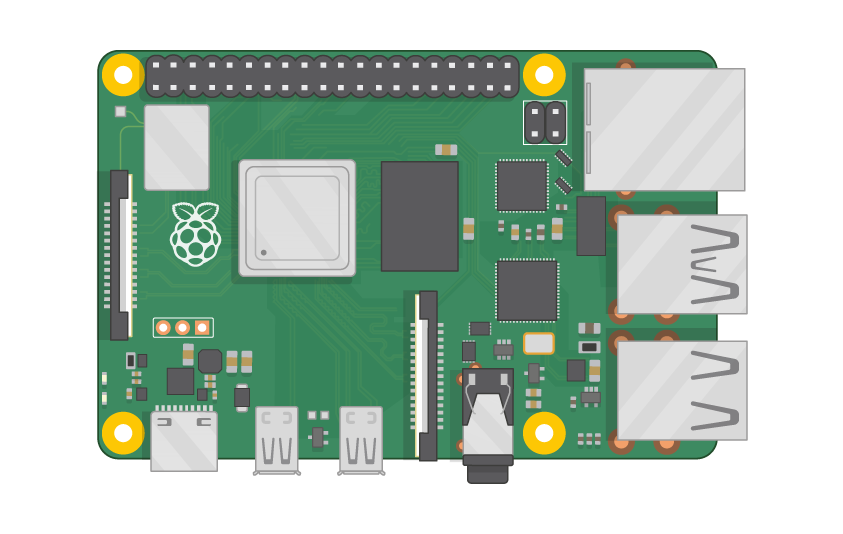
Why Choose Raspberry Pi for SSH Remote IoT?
Raspberry Pi has become the go-to device for IoT projects, and for good reason. Its affordability, versatility, and community support make it an ideal platform for experimenting with remote access technologies. Here are a few reasons why Raspberry Pi stands out:
- Cost-Effective: Raspberry Pi is budget-friendly, making it accessible for hobbyists and professionals alike.
- Versatile: From home automation to industrial applications, Raspberry Pi can handle a wide range of tasks.
- Community Support: With a vast online community, finding resources and troubleshooting help is a breeze.
- Powerful: Despite its size, Raspberry Pi packs a punch with its processing power and expandability.
Setting Up SSH on Your Raspberry Pi
Now that you know why SSH and Raspberry Pi are a match made in heaven, let’s walk through the steps to set it up. Don’t worry; it’s simpler than it sounds. Follow these steps, and you’ll be up and running in no time.
Step 1: Enable SSH on Your Raspberry Pi
Enabling SSH on your Raspberry Pi is a straightforward process. Here’s how you do it:
- Boot up your Raspberry Pi and log in to the desktop environment.
- Open the terminal and type the following command:
sudo raspi-config. - Navigate to the "Interfacing Options" menu and select "SSH."
- Choose "Yes" to enable SSH and then select "Ok."
- Exit the configuration tool and reboot your Pi using the command:
sudo reboot.
Step 2: Find Your Raspberry Pi’s IP Address
To connect to your Raspberry Pi remotely, you’ll need its IP address. Here’s how you can find it:
Read also:Is Alex Trumbles Wife Really A Mystery Letrsquos Dig In
- Open the terminal on your Raspberry Pi.
- Type the command:
hostname -I. - This will display the IP address of your Pi, which you’ll use to connect via SSH.
Connecting to Your Raspberry Pi via SSH
With SSH enabled and your Pi’s IP address in hand, it’s time to connect remotely. Depending on your operating system, the process may vary slightly, but the core steps remain the same.
For Windows Users
Windows users can use tools like PuTTY to establish an SSH connection. Here’s how:
- Download and install PuTTY from the official website.
- Open PuTTY and enter your Raspberry Pi’s IP address in the "Host Name" field.
- Select "SSH" as the connection type and click "Open."
- Log in using your Raspberry Pi’s username and password.
For macOS and Linux Users
Mac and Linux users have it even easier, as SSH is built into the terminal. Simply open your terminal and type:
ssh pi@your_pi_ip_address.- Replace "your_pi_ip_address" with the actual IP address of your Raspberry Pi.
- Enter your password when prompted, and you’re good to go!
Securing Your SSH Connection
Security should always be a top priority when dealing with remote access. Here are a few tips to ensure your SSH connection remains safe:
Change the Default Password
Using the default password is a big no-no. Change it immediately to something strong and unique. Here’s how:
- Log in to your Raspberry Pi via SSH.
- Type the command:
sudo passwd pi. - Enter a new password and confirm it.
Disable Root Login
Root login can be a security risk. It’s better to disable it and use a standard user account with sudo privileges. Here’s how:
- Edit the SSH configuration file:
sudo nano /etc/ssh/sshd_config. - Find the line that says "PermitRootLogin" and change it to "no."
- Save the file and restart the SSH service:
sudo service ssh restart.
Using SSH for IoT Projects
Now that your SSH connection is up and running, it’s time to explore its potential in IoT projects. Here are a few ideas to get you started:
Home Automation
Use your Raspberry Pi to control smart home devices like lights, thermostats, and security systems. SSH allows you to manage these devices remotely, giving you full control over your home environment.
Remote Monitoring
Set up sensors to monitor environmental conditions like temperature, humidity, and air quality. SSH enables you to access this data from anywhere, ensuring you’re always in the know.
Industrial Applications
In industrial settings, SSH can be used to manage and monitor machines and processes. This is particularly useful for troubleshooting and maintenance tasks that require remote access.
Troubleshooting Common SSH Issues
Even the best-laid plans can hit a snag. Here are some common SSH issues and how to fix them:
Connection Refused
If you’re unable to connect to your Raspberry Pi, ensure that SSH is enabled and that your IP address is correct. Also, check your network settings to ensure there are no firewalls blocking the connection.
Authentication Failed
This usually happens when the username or password is incorrect. Double-check your credentials and try again. If the problem persists, reset your password as a precaution.
Advanced Tips for SSH on Raspberry Pi
Once you’ve mastered the basics, it’s time to level up your SSH skills. Here are a few advanced tips to enhance your experience:
SSH Key Authentication
Using SSH keys instead of passwords adds an extra layer of security. Here’s how to set it up:
- Generate an SSH key pair on your local machine:
ssh-keygen -t rsa. - Copy the public key to your Raspberry Pi:
ssh-copy-id pi@your_pi_ip_address. - Test the connection by logging in without entering a password.
Port Forwarding
Port forwarding allows you to access your Raspberry Pi from outside your local network. This is particularly useful if you want to control your devices while on the go. Consult your router’s manual for specific instructions on setting up port forwarding.
Conclusion
And there you have it, folks! A comprehensive guide to setting up and using SSH for remote IoT device management on your Raspberry Pi. From enabling SSH to securing your connection and exploring its potential in various projects, we’ve covered it all. Remember, the key to a successful SSH setup is attention to detail and a focus on security.
Now, it’s your turn to take action. Whether you’re building a smart home or managing industrial equipment, SSH on Raspberry Pi offers endless possibilities. Share your thoughts and experiences in the comments below, and don’t forget to check out our other articles for more tech tips and tricks. Happy tinkering!
Table of Contents
- What is SSH and Why Use It for IoT Devices?
- Why Choose Raspberry Pi for SSH Remote IoT?
- Setting Up SSH on Your Raspberry Pi
- Connecting to Your Raspberry Pi via SSH
- Securing Your SSH Connection
- Using SSH for IoT Projects
- Troubleshooting Common SSH Issues
- Advanced Tips for SSH on Raspberry Pi


