Raspberry Pi RemoteIoT Tutorial: Your Ultimate Guide To IoT Mastery
Imagine this: You're sitting in your cozy living room, sipping on a hot cup of coffee, while your garden lights automatically adjust based on weather conditions. Sounds like the future, right? Well, it’s closer than you think, thanks to Raspberry Pi RemoteIoT projects! Whether you're a tech enthusiast or a complete beginner, this guide is your golden ticket to unlocking the potential of Raspberry Pi for remote IoT applications.
If you've ever wondered how to connect devices, monitor data remotely, or automate your home using a tiny yet powerful computer, you're in the right place. Raspberry Pi RemoteIoT isn't just a buzzword; it's a game-changer that empowers you to build smart solutions without breaking the bank.
From setting up your first project to troubleshooting common issues, this tutorial will walk you through every step of the way. So grab your Raspberry Pi, roll up your sleeves, and let's dive into the world of remote IoT!
Read also:How Do Crown Families Preserve Their History Unlocking The Secrets Behind Royal Legacy
Table of Contents:
- What is Raspberry Pi RemoteIoT?
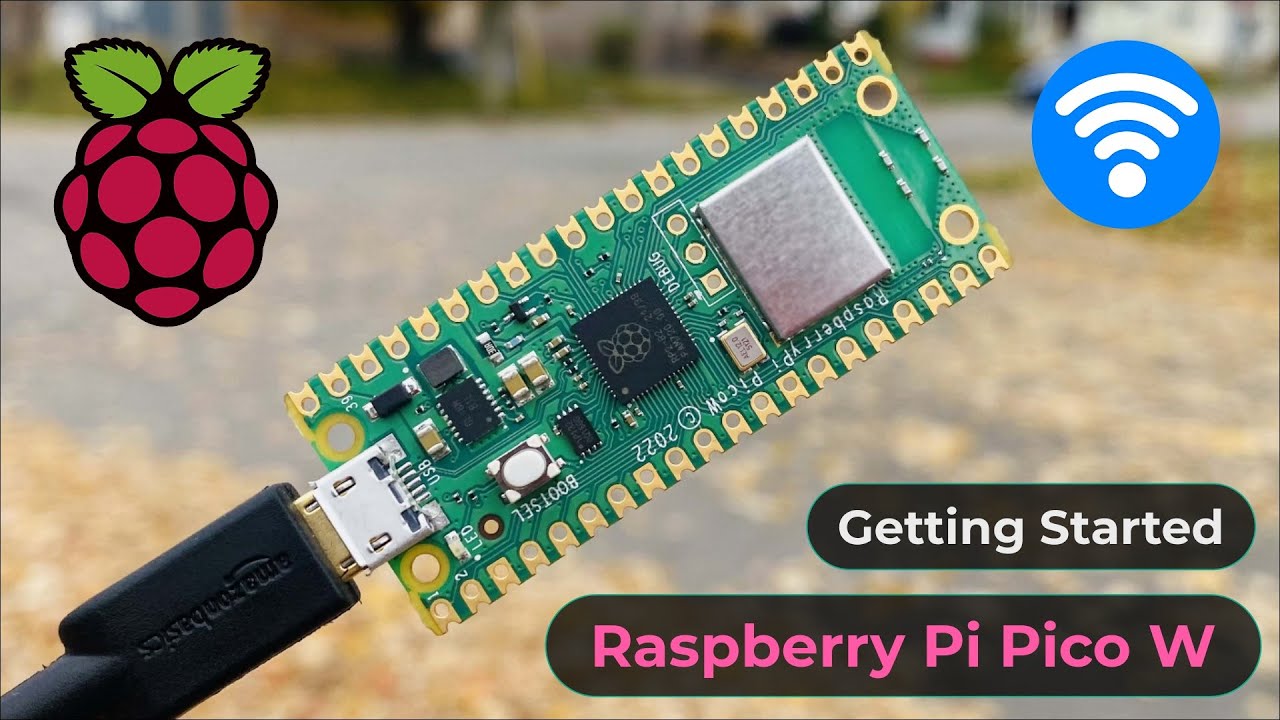
- Getting Started with Raspberry Pi
- Setting Up Your Raspberry Pi
- Accessing Raspberry Pi Remotely
- IoT Projects Using Raspberry Pi
- Essential Tools and Software
- Securing Your RemoteIoT Setup
- Common Issues and How to Fix Them
- Benefits of Raspberry Pi RemoteIoT
- The Future of Raspberry Pi in IoT
What is Raspberry Pi RemoteIoT?
Raspberry Pi RemoteIoT is basically about using the Raspberry Pi to create internet-connected devices that can be monitored and controlled from anywhere. Think of it as giving your projects superpowers – they can now communicate with you over the internet. This opens up endless possibilities, from home automation to industrial applications.
Here’s a quick breakdown:
- Raspberry Pi: A credit-card-sized computer that’s affordable and versatile.
- RemoteIoT: The ability to interact with IoT devices remotely, no matter where you are.
- Projects: From smart gardens to weather stations, the sky's the limit!
Now, before we get too carried away, let’s take a closer look at what makes Raspberry Pi so special and why it’s perfect for remote IoT projects.
Why Choose Raspberry Pi for RemoteIoT?
Raspberry Pi has become the go-to platform for hobbyists and professionals alike. Here’s why:
- Cost-effective: You can get a Raspberry Pi for as little as $35.
- Open-source: A vast community of developers contributes to its ecosystem.
- Versatile: Supports a wide range of programming languages and hardware interfaces.
- Compact: Perfect for embedding into projects without taking up too much space.
So whether you’re building a personal project or scaling up to enterprise-level solutions, Raspberry Pi has got you covered.
Read also:Crown Family Role In International Relations Unveiling Their Hidden Influence
Getting Started with Raspberry Pi
Before we jump into the nitty-gritty of Raspberry Pi RemoteIoT, let’s make sure you’re set up for success. Here’s what you’ll need:
Essential Components
Make sure you have the following items before you start:
- Raspberry Pi board (any version will do, but newer models have better performance).
- A microSD card with at least 16GB of storage.
- A power adapter compatible with your Raspberry Pi model.
- An Ethernet cable or Wi-Fi adapter for internet connectivity.
- A keyboard and mouse for initial setup.
- A monitor or TV with HDMI input.
Once you’ve gathered all the components, you’re ready to move on to the next step.
Setting Up Your Raspberry Pi
Setting up your Raspberry Pi might seem daunting at first, but trust me, it’s easier than you think. Follow these steps, and you’ll have your device up and running in no time.
Installing the Operating System
The first thing you need to do is install an operating system on your Raspberry Pi. The most popular choice is Raspberry Pi OS, which is lightweight and optimized for the device.
Here’s how you do it:
- Download the Raspberry Pi Imager from the official website.
- Insert your microSD card into your computer.
- Launch the Raspberry Pi Imager and select the Raspberry Pi OS from the list of available options.
- Choose your microSD card as the target device and click “Write” to install the OS.
Once the installation is complete, safely eject the microSD card and insert it into your Raspberry Pi.
Accessing Raspberry Pi Remotely
Now that your Raspberry Pi is up and running, it’s time to take it to the next level by accessing it remotely. This is where the magic of Raspberry Pi RemoteIoT truly shines.
Enabling SSH
SSH (Secure Shell) is a protocol that allows you to connect to your Raspberry Pi from another device over the internet. To enable SSH:
- Boot up your Raspberry Pi and log in.
- Open the terminal and type “sudo raspi-config” to launch the configuration tool.
- Navigate to “Interfacing Options” and enable SSH.
- Reboot your Raspberry Pi for the changes to take effect.
With SSH enabled, you can now connect to your Raspberry Pi from any device with an SSH client.
IoT Projects Using Raspberry Pi
The real fun begins when you start building IoT projects with your Raspberry Pi. Here are a few ideas to get you started:
Smart Home Automation
Create a smart home system that controls lighting, temperature, and security cameras. Use sensors and actuators to automate tasks based on your preferences.
Weather Station
Set up a weather station that collects data on temperature, humidity, and air pressure. Share the data with a cloud service for real-time monitoring.
Remote Camera
Turn your Raspberry Pi into a remote camera that streams live video to your smartphone or computer.
These projects not only enhance your understanding of Raspberry Pi RemoteIoT but also add value to your daily life.
Essential Tools and Software
To make the most of your Raspberry Pi RemoteIoT projects, you’ll need the right tools and software. Here are some recommendations:
Programming Languages
Python is the most popular language for Raspberry Pi due to its simplicity and vast library support. However, you can also use other languages like C++, JavaScript, or even shell scripting.
Development Environments
Thonny is a great IDE for Python beginners, while Visual Studio Code offers more advanced features for experienced developers.
Cloud Platforms
Consider using cloud platforms like AWS IoT Core or Microsoft Azure IoT Hub to store and analyze data from your IoT devices.
Securing Your RemoteIoT Setup
Security is a critical aspect of any IoT project. Here are some tips to keep your Raspberry Pi RemoteIoT setup safe:
Change Default Credentials
Always change the default username and password of your Raspberry Pi to prevent unauthorized access.
Use Strong Passwords
Create strong, unique passwords for your SSH and cloud accounts. Consider using a password manager to keep track of them.
Regular Updates
Keep your operating system and software up to date to protect against vulnerabilities.
Common Issues and How to Fix Them
Even the best-laid plans can go awry. Here are some common issues you might encounter and how to fix them:
SSH Connection Refused
If you can’t connect to your Raspberry Pi via SSH, ensure that the service is enabled and that your firewall isn’t blocking the connection.
Wi-Fi Not Working
Check your Wi-Fi settings and ensure that your Raspberry Pi is connected to the correct network.
SD Card Corruption
If your Raspberry Pi stops booting, try re-imaging the SD card or using a recovery tool like SD Card Formatter.
Benefits of Raspberry Pi RemoteIoT
Raspberry Pi RemoteIoT offers numerous benefits, including:
- Cost savings: Build complex systems at a fraction of the cost of commercial solutions.
- Flexibility: Customize your projects to meet your specific needs.
- Learning opportunities: Gain hands-on experience with IoT technologies.
These advantages make Raspberry Pi an excellent choice for both personal and professional projects.
The Future of Raspberry Pi in IoT
As IoT continues to evolve, Raspberry Pi will undoubtedly play a significant role in shaping its future. With advancements in processing power, connectivity, and software support, the possibilities are endless.
So whether you’re a hobbyist looking to tinker with cool gadgets or a professional seeking to develop innovative solutions, Raspberry Pi RemoteIoT is a journey worth embarking on.
In conclusion, Raspberry Pi RemoteIoT is more than just a hobby; it’s a gateway to a smarter, more connected world. By following this tutorial, you’ve taken the first step towards mastering this exciting technology. Now it’s your turn to experiment, learn, and create!
Feel free to leave a comment below sharing your thoughts or asking questions. And don’t forget to check out our other articles for more tech tips and tricks. Happy building!


